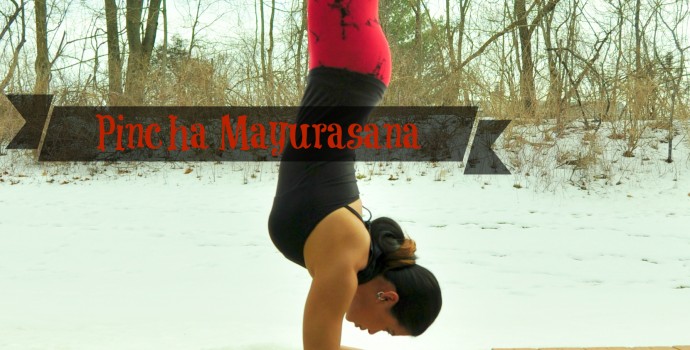
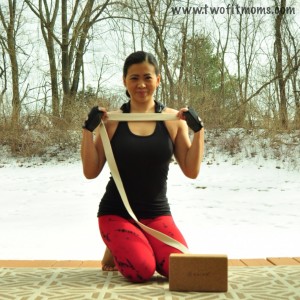
Pincha Mayurasana, or Forearmstand, is probably the scariest of all of the inversions. There is just something about being on the forearms that seems harder. I highly recommend having a block, a yoga strap and a wall nearby to practice.
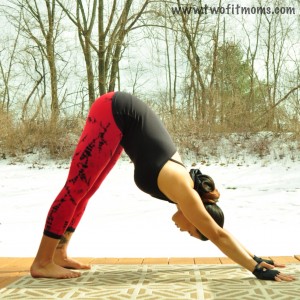
Step 1: Downward Facing Dog
Start off in Downward Facing Dog, or Adho Mukha Svanasana. Hands are shoulder width apart, fingers are spread wide and grip the mat, weight is equally distributed through all four corners of your palms, biceps externally rotate out, upper arm bones plug into their sockets, shoulder blades roll down the back, lower ribs corset in, navel pulls in, core engages and inner thighs rotate in. It’s a long checklist, but a solid down dog will translate to a solid inversion practice. I like to start with my fingers and move down to my feet when mentally adjusting myself.
Step 2: Dolphin Pose
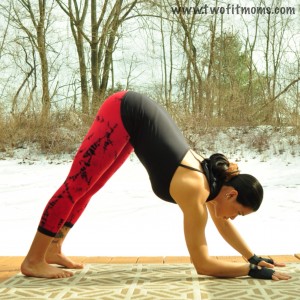
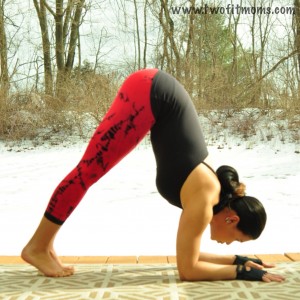
Keeping the external rotation in those arms, slowly make your way onto your forearms. Forearms should be shoulder width apart and parallel to each other. Let the head hang neutral. Push firmly into your hands and forearms, and keep the elbows and upper arms squeezing in. Stay here and breathe. This is a great preparatory pose, and it will build arm/shoulder strength. You will probably start to feel this about three breaths in. Try to stay here for five breaths and then take a Child’s Pose before continuing.
When you are ready, come back into Dolphin Pose and walk your feet in as much as your flexibility allows. Look down and focus on the space in between your forearms.
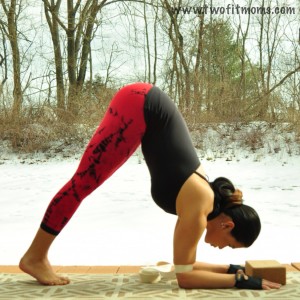
If you are having trouble keeping your elbows in, create a loop in your yoga strap. Measure the loop so that it is as wide as your shoulders. Place the strap just above your elbows. Additionally, you can also use a block in between your hands. The block should be placed longways. Using the corners of the block, set your hands up so the index fingers squeeze the sides while the thumbs squeeze the bottom.
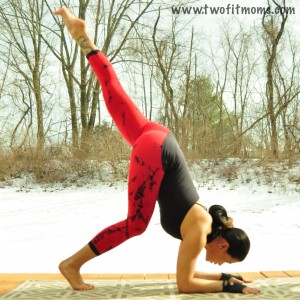
Step 3: Lift a leg
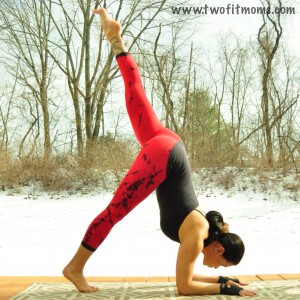
Slowly lift one leg high into the air. Keep the hips square by flexing the foot of the lifted leg and pointing the toes down toward your mat. PLAY with lifting both legs up. Everyone usually has a more dominant side or one that just feels more comfortable. In the beginning, stay with the dominant leg. Once you get more comfortable, THEN practice using both!
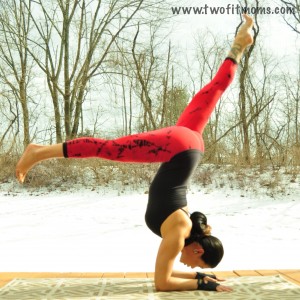
Step 4: Baby kick ups
Bend the bottom leg and lightly push off of the foot – maybe only an inch or so off of your mat. Keep the top leg energized and extended toward the sky, while the bottom leg extends out. Both legs need to be active. Make sure not to let your face sink towards your mat. Push actively into your forearms and hands, keep the shoulders down and away from your ears. Try to keep the arms at 90 degrees.
Be patient. When you feel ready, you can start kicking up a bit harder to try to get the hips up over the shoulders and maybe gain more hang time.
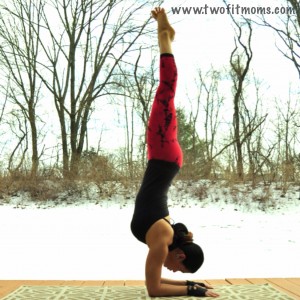
Step 5: Full expression
Once you are comfortable kicking up into an “L” shape and holding it, you can start to play with bringing the bottom leg up to the top leg.
Keep your lower ribs pulled in and your core engaged to avoid banana back.
Don’t be frustrated if this pose does not come easily.
“Even if you fall on your face, you’re still moving forward.” – Victor Kiam
XOXO







Both you and Masumi are doing a phenomenal job with this blog! I especially enjoy these tutorials. Between this blog and your IG #inversionsmakeyouhot challenge, my practice has been thriving lately! Thank you so much!!
Laura are very useful these tutorials, keep it doing if you can! I love your web!
Such a helpful tutorial! I continue in my forearm journey having attended and LOVED your Inversion Workshop in NJ, but my head/nose always crashes to the floor! I love headstands & handstands so I think my head just wants to join in!
I’ll try the block/strap as that might distract my noggin
Thanks Laura
Since I live on the other side of the states I am unable to attend your class. However, these tutorials are awesome! Thank you~ <3
So helpful and much appreciated! Loving this page and these tutorials.